Let's take a peek behind the wreath...Some people have asked about the fan wreaths. These wreaths are super fun to create and are definite statement pieces!! You can embellish them as much as you like, and you can even add fairy lights to the back. The lights will shine through the fabric, creating a magical effect.
So, let's get started. We begin with three (3) fabric folding fans. We pick these up from Dollar Tree, Temu, Amazon, or eBay, wherever we find ones we like. These particular ones came from Temu, and shipping was delayed for about 10 days. So, if you are on a tight schedule, order locally or scour your local stores for fans that would work.
The Poodle insert is an image we created in the Bing AI Image Creator and then decoupaged onto a round wooden circle. Ribbon, tulle, flowers, and peeps were picked up at local stores such as Dollar Tree, Dollar General, Hobby Lobby, and JoAnn's.
Now, the tricky part is to get the fans to line up without creating a huge "bulge" in the back of the fan so
it sticks out from the wall or door. We use zip ties and attach the fans in a circular pattern to create a
"wreath". Once the fans are tied together, we then take a 14" wire wreath form (from Dollar Tree) and attach that to the back of the fans.
The next step is to attach the insert (Poodle sign in this case) using the two (2) holes already pre-drilled on the wooden sign. Run a small zip tie and attach it to the fans (not the wireframe). Build your bow; some people use a bow maker, but we create ours without one. Once you have your bow, use a zip tie and attach the bow to the fans (not the wireframe).
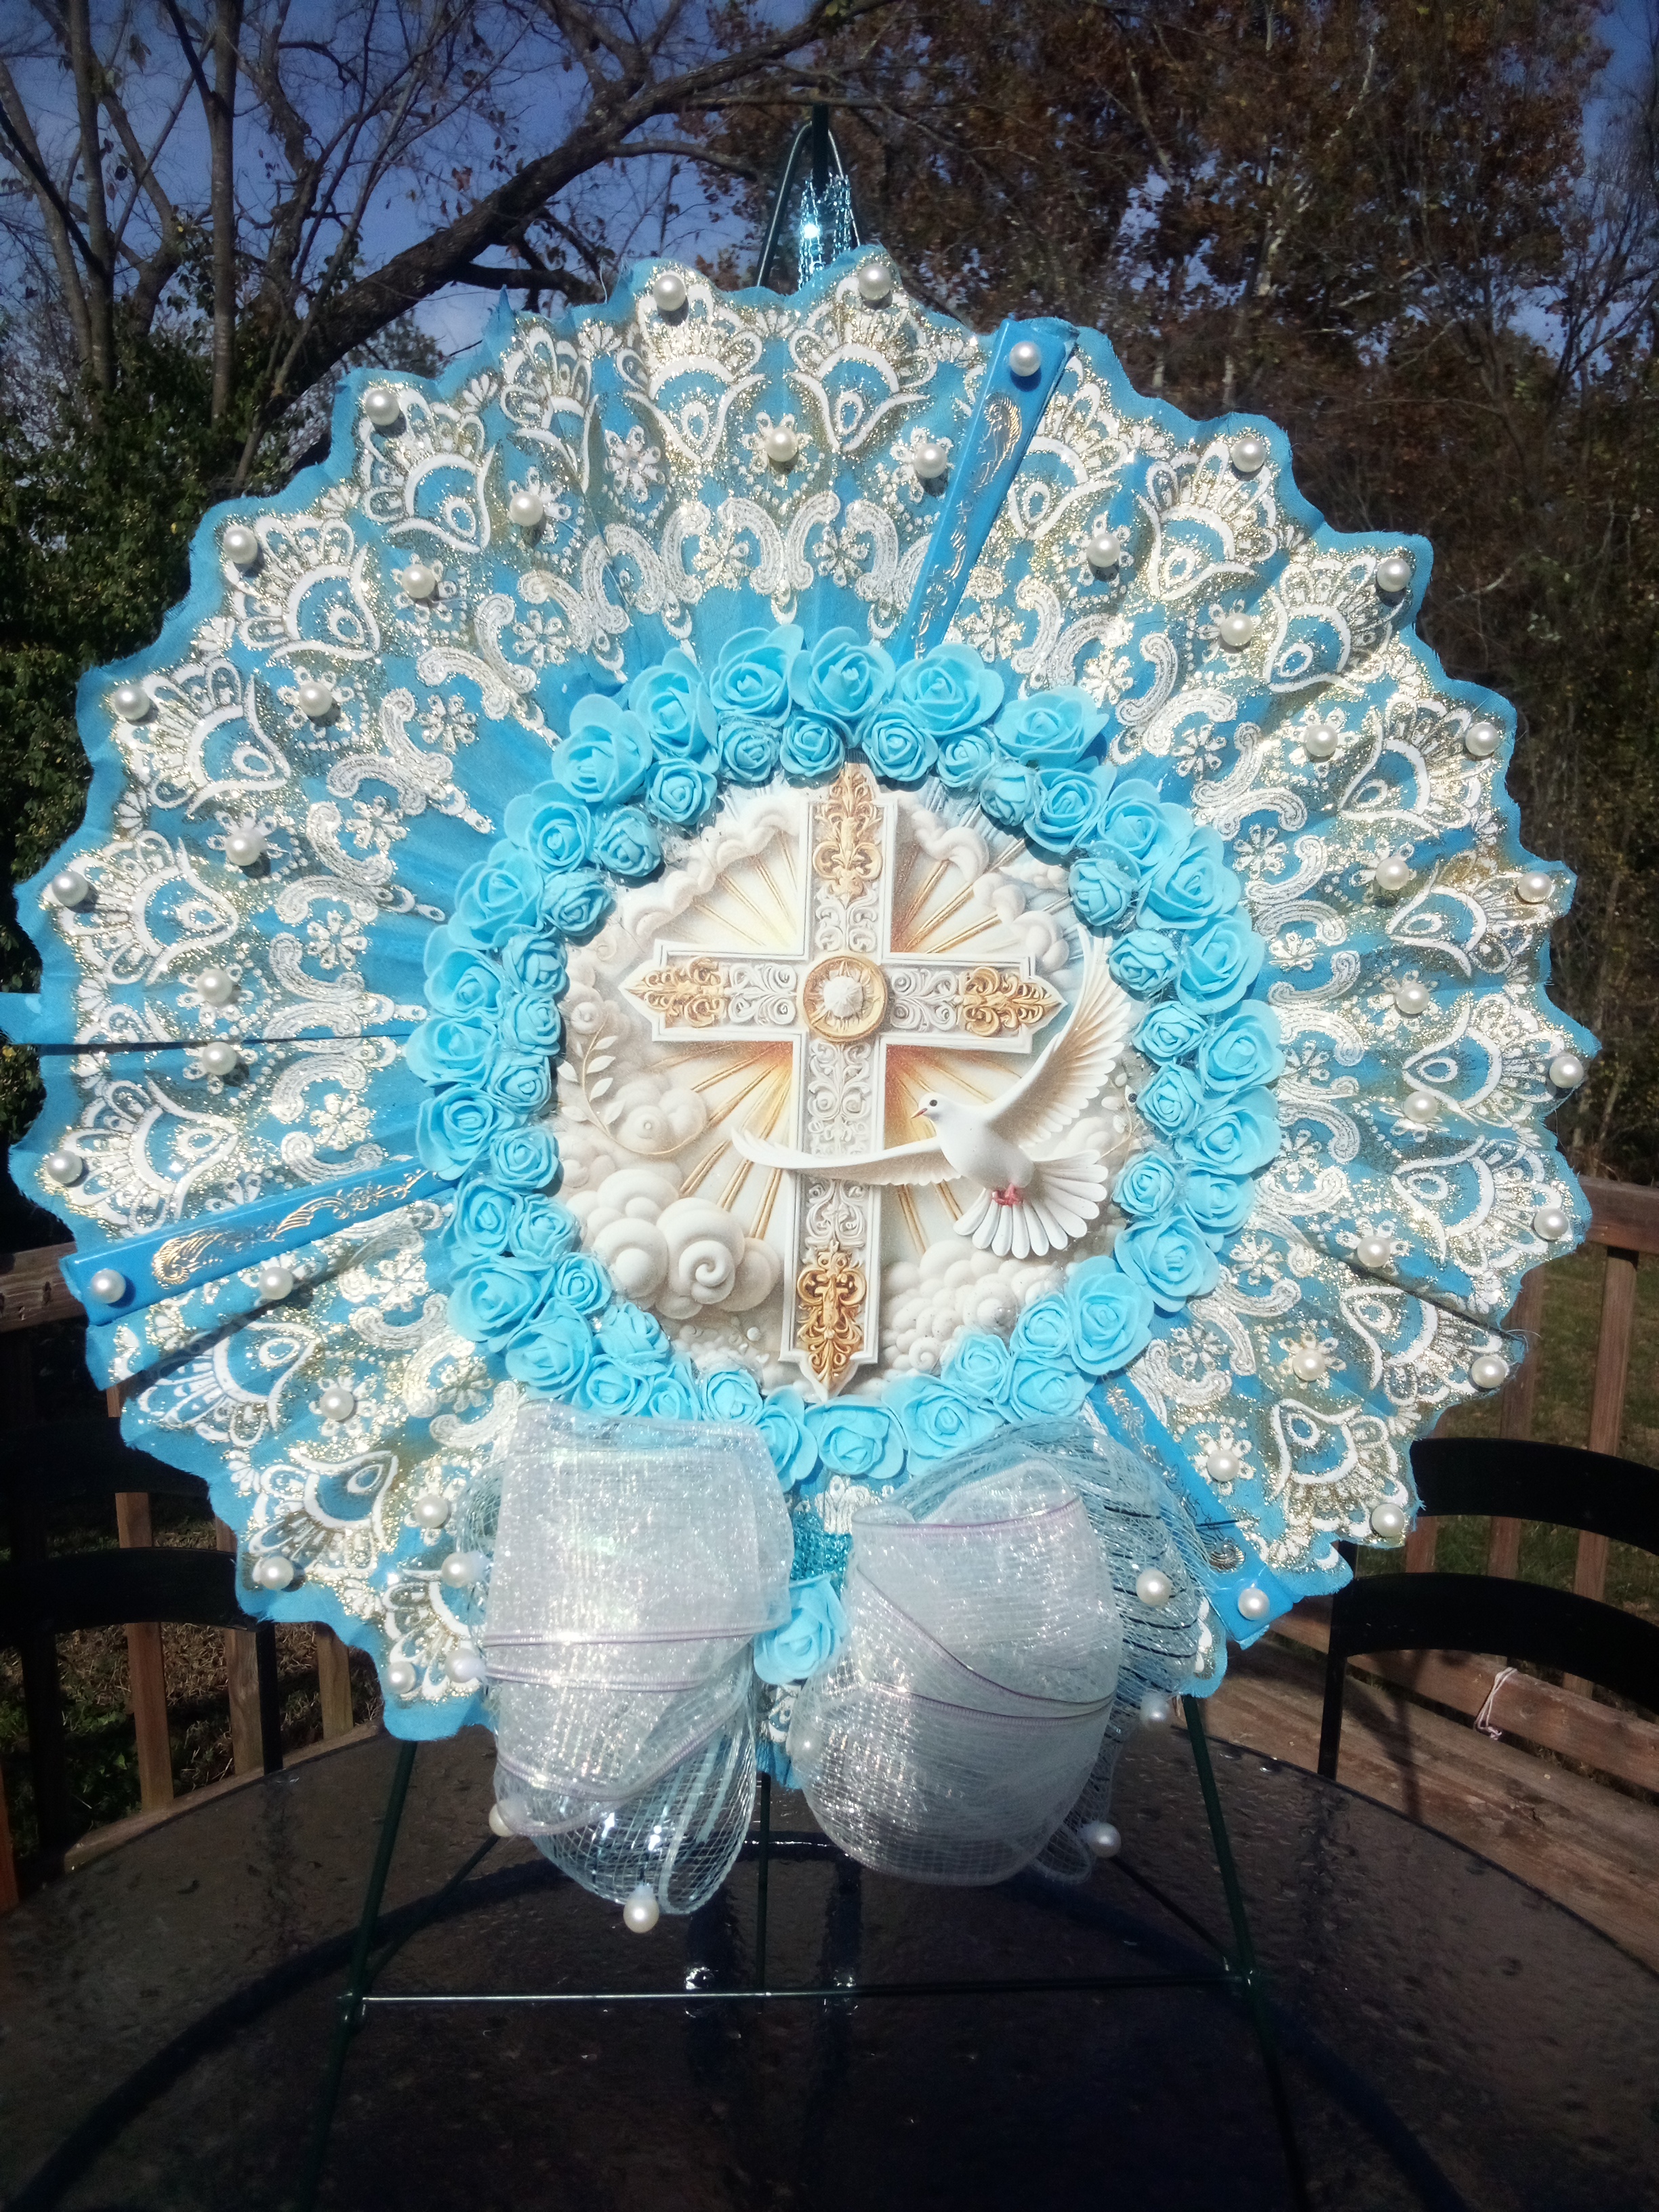
Once you have the sign and bow attached, it is time to embellish it and make it fabulous!! We cut squares of tulle and glued them around the sign, then added the flowers and peeps. You can glue pearls, rhinestones, flowers, or whatever you think looks great around the fan. Don't be afraid to play with ideas.
We will get the fans, frame, sign, and bow set and then place the embellishments on the fan (without gluing anything), snap photos, and see if we like the effect. If we are not happy with it, we shift things around or try different florals or whatever. Do this until you are happy with the look!!
Get crafting and feel free to comment with your creations or ask questions!
~Holly & Bella

.jpg)


.jpg)


.jpg)
